
A cob oven is a wood fired oven made of Earthen Clay and Sand as well as Hay (or sun dried manure, we used hay). Our cob oven is "sustainable" since we used clay from on site and the rest of the materials we used are not necessarily renewable or regenerative but abundant and thus "sustainable"
What we did first was lay out some bricks for the oven to be on top of and then Mound up some wet sand into a Half Sphere on top of the bricks. We covered the wet sand with plastic and then began the main process.
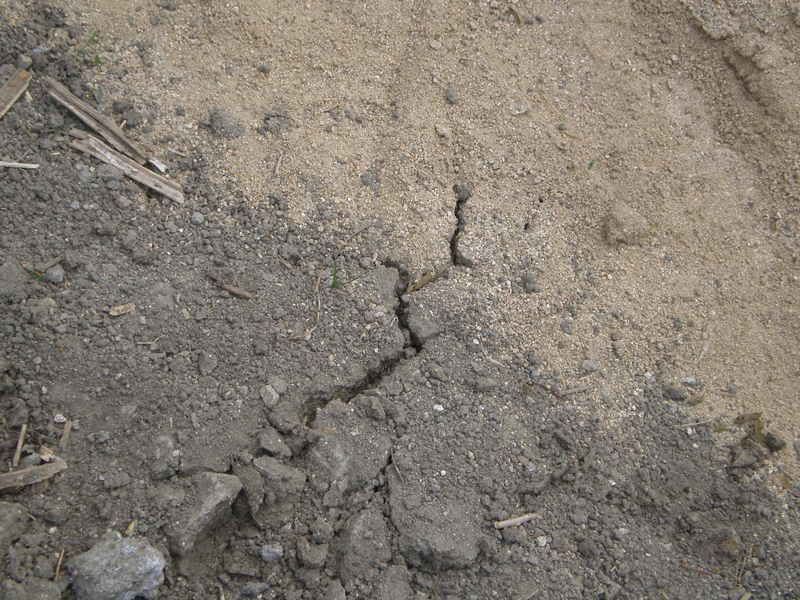
We mixed clay and sand together 2 parts clay and one part sand.
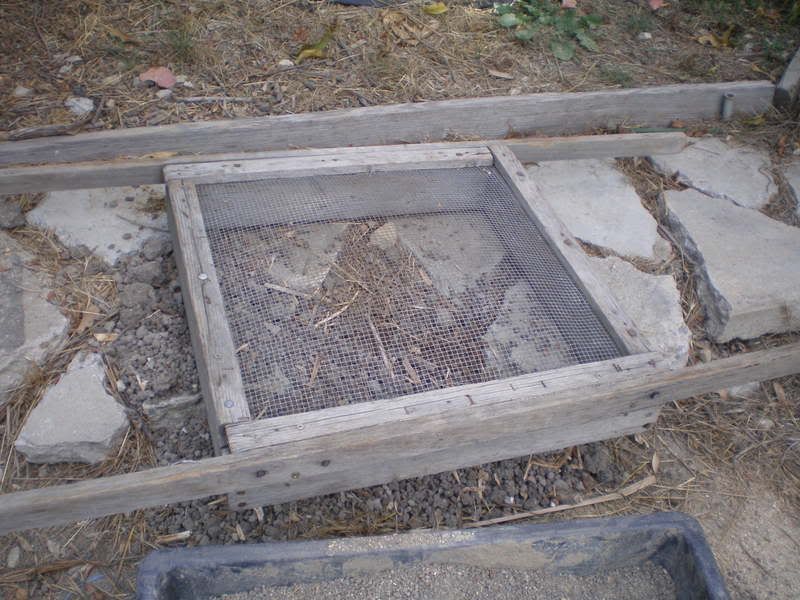
A sifter is used for the clay to make sure we don't get any rocks into the mix.
The clay acts as a cement, when clay drys it hardens and like mixing cement the sand helps to aggregate it.
The next day we mixed sand, clay and small pieces of hay. The reason for the hay is for the fibers, the fibers hold the mixture together stronger.
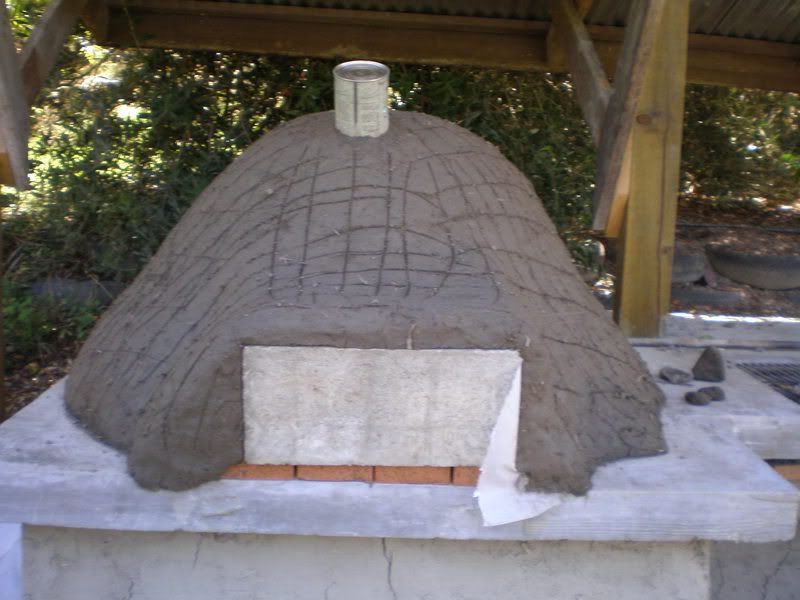
The cement brick will serve as a door. The bricks on the bottom were used because bricks retain heat and help keep the oven hot. We also used a Coffee can as the hole for our chimney (that's the only part that isn't finished yet.)
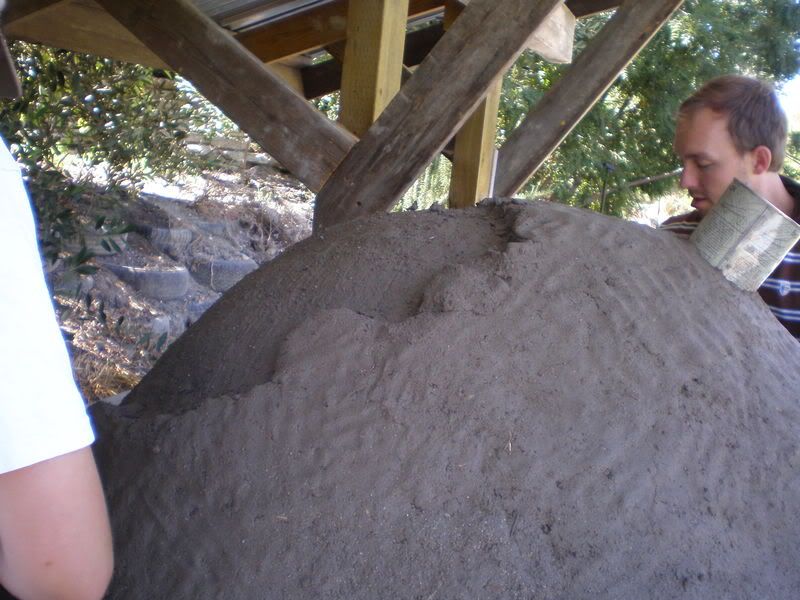
You can see how thick the layers are. The first and last layers are thinner than the middle layer, this mixture is typically 3 parts sand and 1 part clay. Here are Jill and Justin hard at work.

When we were done with the last layer and the oven began to dry we removed all the sand from inside.
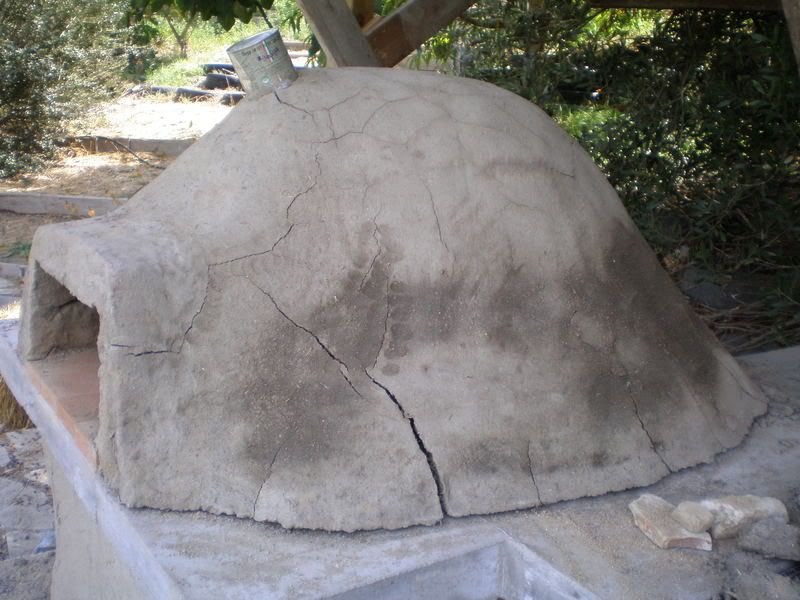
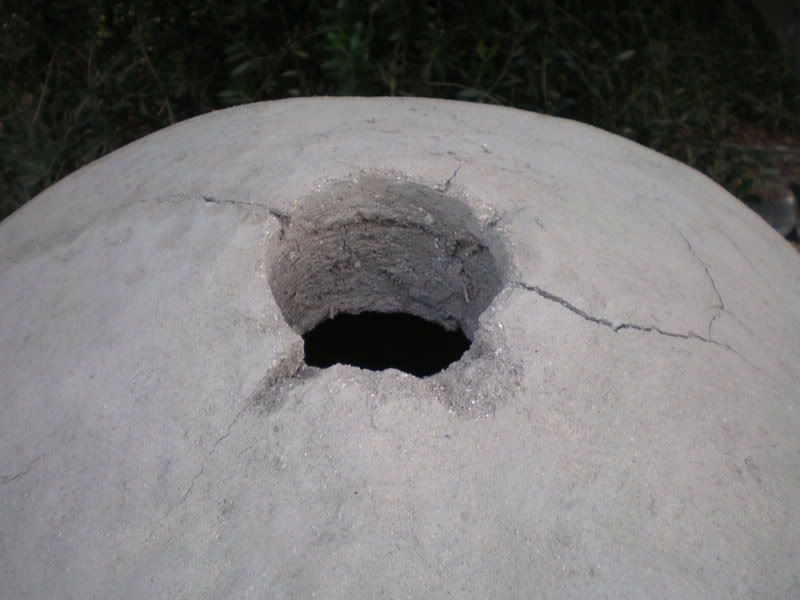
But alas! as the oven dries it begins to develop wide cracks, the cracks only go as deep as the layer the cracks occur on (hence one of the reasons for the three layers).
Now that it is fully dried it is a much lighter color and the cracks have finished developing. We also removed the coffee can so we can soon add the chimney. If you notice on the bottom of the oven where it meets the counter the oven is no longer touching the counter. When the cob mixture dries it shrinks, that causes the cracking and also the lifting, The large cracks are about a half inch thick and the bottom of the oven is about a half an inch off the counter now. (it's not floating it's all resting on the bricks, but that's obvious right?)
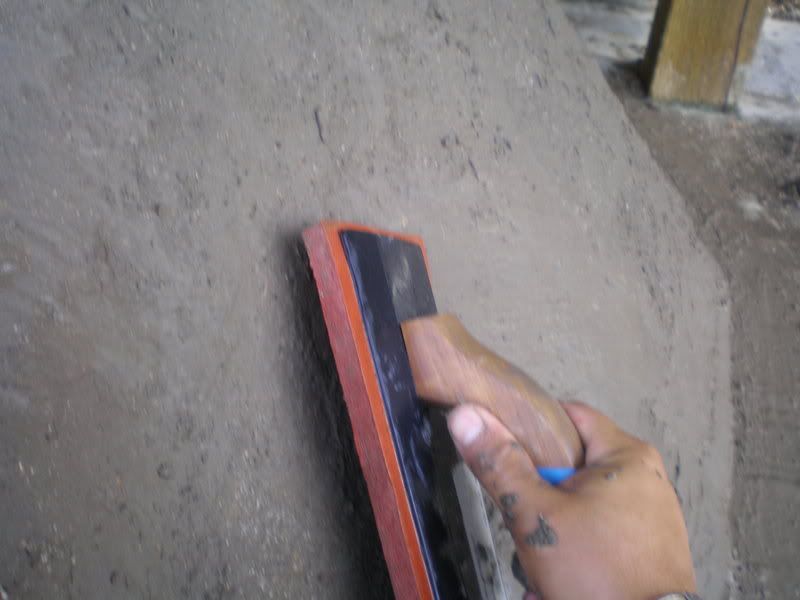
With the cob oven all dried I made a final mixture of clay and sand to the consistency of a wet plaster, (much like the final layer) and filled in the cracks. This trowel that I'm using is a sponge trowel used to smooth out the final texture of the plaster.
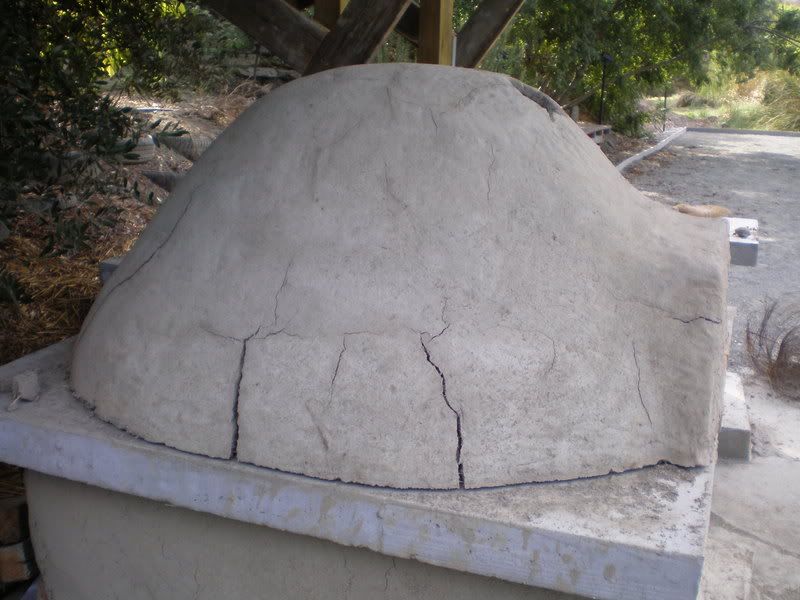
All that remains is the chimney (this photo is before I fixed all the cracks). You can see how thick it is in its thinnest area. If you look carefully you can see the middle layer with pieces of hay.
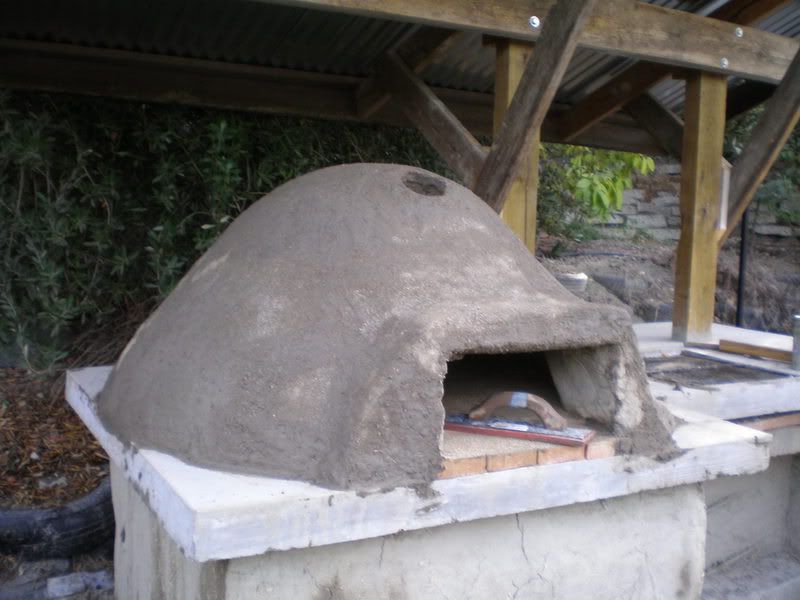
Here's the near final product. Once it is dry and the chimney is put in we'll fire it up to harden everything even more even though it's already as hard as a rock. Take note of how thick it is in some parts near the brick on the bottom, also note the roof above it, cob ovens shouldn't get wet unless it has a lime coat on it, we don't need one so we won't put one.
I can't wait to cook some pizza in it. Winco in Pomona near Phillips Ranch has some pizza dough in a ball near their dairy section. All of those in Pomona come to the Regenerative Studies Center at Cal Poly and check out our handy work.


No comments:
Post a Comment